This Is How We Leverage the Bloomeach Engagement Notifications Feature
Imagine losing potential sales because your customers didn’t receive your cart abandonment emails...
Imagine losing potential sales because your customers didn’t receive your cart abandonment emails. This issue can arise for various reasons: a mistake in a recent change to the cart abandonment scenario or the cart update event stopping being tracked due to recent IT changes. In any of these cases, you want to be notified as soon as possible to avoid losing revenue associated with cart abandonment emails.
To address this, we have implemented numerous notifications using the new Bloomreach Analytics Notifications feature. These notifications are simple to set up and, as mentioned, can save you significant money in the event of unexpected disruptions in your Bloomreach Engagement project.
In this short article, we will provide a list of recommended notifications to set up, along with a simple step-by-step guide on how to do so.
Which notifications do we recommend to set up?
We recommend setting up a "no tracking" notification as one of your essential alerts. This notification will inform you if any of your email scenarios cease to fire (and subsequently generate any events), or if any crucial events stop flowing into the Bloomreach Engagement platform such as purchase or consent data.
If you have multiple versions of your email flows (for instance, tailored for different markets), it is important to configure a separate notification for each version. This ensures that if an email flow stops firing in a specific market, you will still receive an alert.
Here are some specific examples for which notifications are worth setting up:
Cart abandonment email scenario for US market
Cart abandonment email scenario for Canada market
Welcome flow email scenario for US market
Welcome flow email scenario for Canada market
Collection of email consents
How to set up the notifications?
1. Creating the metric
The first step in creating the "no tracking" notification is to establish a metric. In the example provided below, we aim to monitor the number of emails sent through the cart abandonment scenario for the German market. If no cart abandonment emails are sent within the chosen timeframe (i.e., the metric equals zero), we want to be notified (we will show you how to set up this notification in the third step).
Note: You can set up to five notifications for each metric.
It’s important to keep in mind that if your business runs on multiple language domains, make sure to create metric for each of the domains separately, even though it’s for the same scenario.
2. Choosing the correct time period
You might not be sending cart abandonment emails evenly throughout the day. In fact, you may have so-called silent hours, especially during the night, when no cart abandonment emails are sent.
To avoid receiving "no tracking" notifications during these silent hours, we need to analyze the maximum length of your silent hour windows in recent history. This requires creating a report that examines the number of cart abandonment emails sent, broken down by hour, over the past 30 days or so.
In our example, we observe that most silent hours last a maximum of 5 hours. Therefore, the metric that monitors cart abandonment sendouts should count the number of emails sent over at least the last 6 hours.
3. Setting up the notification
The final step is to create a notification for each metric. The settings are quite simple and straightforward. Simply click on the three dots on the right and select "Notifications".
When setting the condition, you can choose from four operators. In our case, we used equals = 0, to receive a notification when the number of campaigns sent in the last five hours equals zero.
It is important to note that the condition is checked every hour! This means that if your condition will be met every hour for next 48 hours, you will receive 48 notifications.
*Note: the number of characters of the notification title must be between 1 - 40.
How am I going to be notified?
There are multiple ways of how you can receive the Bloomreach Analytics Notifications. You can select the one that suits you best, or feel free to use all of them, if needed.
1. Notification centre
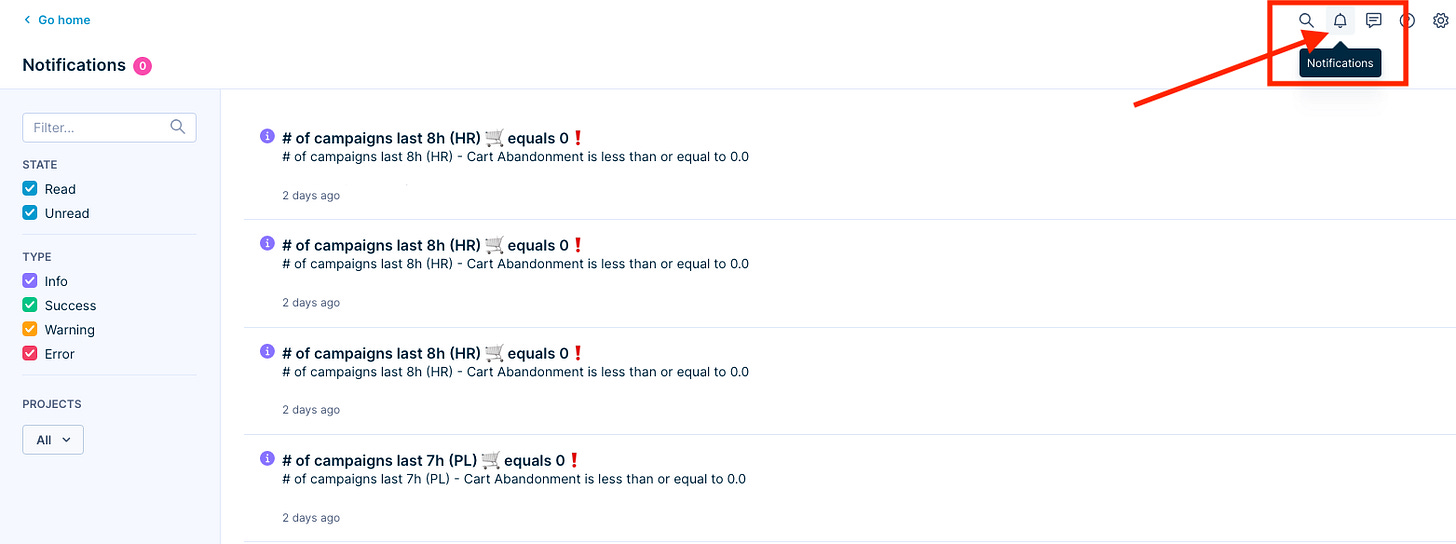
The first and most automatic option for receiving notifications is the Notification Center within the Bloomreach Engagement Project. This is activated automatically when a notification is created.
2. Email notifications
The second easy-to-set-up option is to receive notifications via automated email. You can simply choose the users who should receive the notifications when setting up the notification itself.
Just don't forget to enable email notifications in your user settings as well.
3. Slack integration
If your company uses Slack, you can send these notifications to dedicated Slack channels. Here is a step-by-step guide on how to set up Slack integration for your notifications.
If you found this post valuable…
We hope you found this article valuable. If you did, please subscribe (it’s free!) to stay updated with our latest publications.
If you believe someone else could benefit from this information, kindly share this article using the button below. Your support is greatly appreciated!


